Tuesday, 8 December 2009
Making of the weasel
with the feet i pulled down some edges and left some polygons on the inside of the foot to make a body and have the feet on the outside.
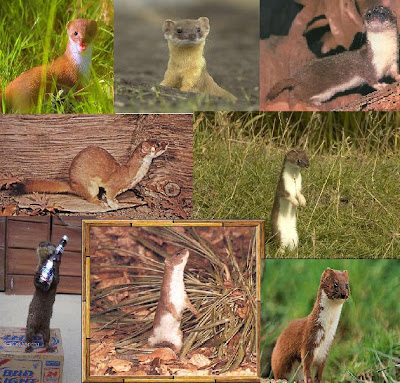
here is how i modelled the face, extruding the edges outward to match a real weasels face as much as possible.
my finished head, where there are eye bulges i used the chamfer tool early to make eye sockets but instead i extruded them outwards so that i could just roll over a black textured dot when shrink wrapping. didnt work out that way though so i put in 2 spheres and gave them noise maps to give an animal eye looking effect.
here is the underlying texture i used to put the base for the hair and fur modifier
here it is being applied using shrink wrap
then i applied hair and fur modifier and made some grass using a plane and hair and fur modifier then i put in a tree background. used photoshop to get the RGB of the grass and matched it with the grass in the scene. then i trimmed the hair added made it a little thicker for realism.
end result:
fur is incredibly hard to do and in hind sight maybe not the best of ideas but im happy with my efforts.
Weasel !!!!!!!!!!!!!
Monday, 7 December 2009
Shark model
what i did was i got a very basic image of a tiger shark and used it to shape it. i got a plane and extruded it across the shark leaving vertices to push down and make the basic body shape. i then connected the edges using the connect tool to make some lines for depth. Then i pulled those lines out towards view and altered them to give the shark a realistic look.
i then extruded the parts of the shark where they had fins and at the tail and connected the edges to make lines to add depth to the tails. i then added the turbo smooth modifier to give it as much realism as possible.
lastly i used UVW unwrap to texture it. i had to figure out where all the broken pieces went and color it accordingly using photoshop. it looks something like this:
and this is the end result:
with the sand texture i used a box and gave it 60 length and width segments and added a noise modifier to give it a bumpy sea floor look. i then used the basic sand texture that 3ds max has in its standard libraries then i got a light and added a caustic filter which is also in the standard light library of 3ds max.
Preperation for second stamp
Sunday, 6 December 2009
spider finished
spider making
with the legs this is how i did them
first i started with a cylinder and put it into proportion
then started extruding the end polygons and making them smaller and then welding the.
tip to give it a spider like leg
Friday, 20 November 2009
Monday, 2 November 2009
here it is so far:
H
Sketch
Preperation for first stamp
For my first 3D stamp I am going to do a solifugae which is an order of the arachnida family and is nicknamed by the locals 'Camel Spider'. it has 8 legs but isn't technically a spider although is somewhat very close to it. the name solifugae is latin for the ones who flee from the sun. it has 2 very large antennae-like pedipalps which extrude from the head and look like an extra pair of legs. they are used for climbing and capturing flying prey. the solifugae have 2 very small legs which are used for feeling and sensing (like antennae) and the other 6 legs are used for running. I have done a sketch of a spider and have plenty of reference images and will be modelling and texturing it ready to show on friday. i'll upload the sketch once i can take a picture of it.